
Clean up duplicates and missing files with the Health views
Libraries collect clutter: the same texture shipped in two packs, files you moved or deleted outside the app. The Health section at the bottom of the sidebar counts both. In this tutorial you resolve a duplicate, then fix an asset whose file went missing, once by pointing it at the file’s new place and once by removing it from the library, and see what undo can and can’t reverse.
You need: the app with a library that has finished scanning. Duplicates
are found by comparing file contents, which happens in the background right
after a scan (“hashing”), so wait until the status bar says Ready. The
screenshots use a small demo library where wood_planks.png ships in both
“Stone and Wood Textures” and “Low Poly Props”, and where jump.wav from
“Retro Sound Effects” goes missing.
Time: about ten minutes.
Duplicates
Section titled “Duplicates”1. Open Health → Duplicates
Section titled “1. Open Health → Duplicates”Scroll the sidebar down to Health and click Duplicates. The number next to it is how many groups of identical files the library has. You can also press Cmd/Ctrl+K and run Find duplicates.
The review replaces the grid. The line under the title sums it up: how many groups, how many redundant files and how much space you’d get back. Each card is one group: a thumbnail, the file name, a short form of its SHA-256 fingerprint, the size of one copy, how many copies there are, and Save … for the space that group frees.
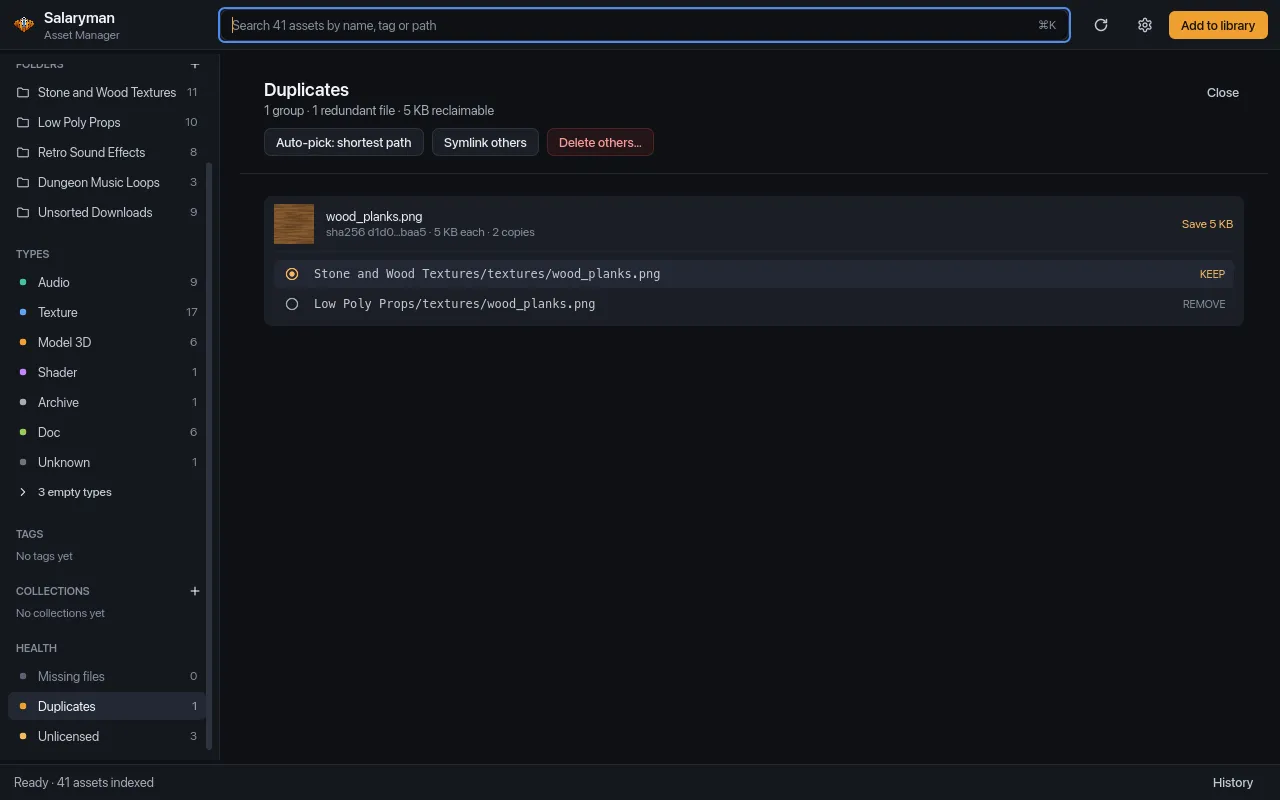
Only files with exactly the same contents end up in a group; two files with the same name but different pixels don’t. Archived assets and missing files are left out. With more than 100 groups, the review shows the 100 that free the most space; resolve those to see the rest.
2. Choose the copy to keep
Section titled “2. Choose the copy to keep”Each copy is a row with its path (with the library folder’s name in front when the copies are in different folders). One row in every group is marked KEEP, the others REMOVE. Every group starts on the copy with the shortest path; click a row (or its round button) to keep that one instead. Auto-pick: shortest path sets every group back to the shortest path.
Here, keep the copy in Stone and Wood Textures, the pack that’s all about textures.
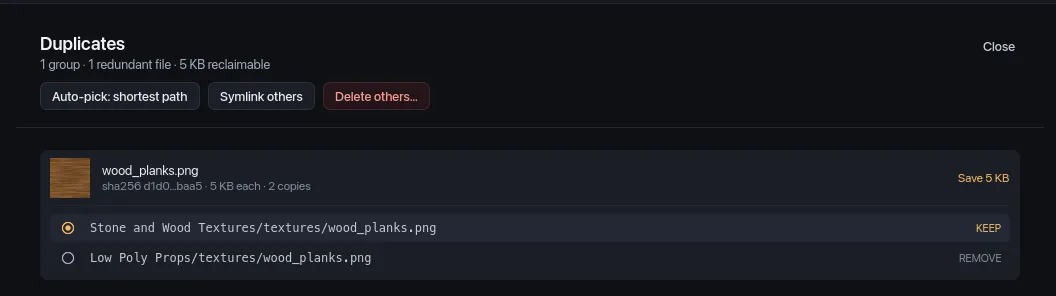
Pick with care: the copy you remove leaves the library, and its tags and collection memberships go with it. The review doesn’t show tags, so if one copy is the one you tagged, keep that one.
3. Pick how to resolve them
Section titled “3. Pick how to resolve them”There are two ways to get rid of the other copies. Both apply to every group on the page at once:
- Delete others… moves the copies marked REMOVE to the Trash and removes them from the library.
- Symlink others (macOS and Linux only; the button isn’t there on Windows) moves them to the Trash too, but puts a link to the kept file in their place. The path keeps working and the asset stays in your library (with its tags), it just no longer counts as a duplicate.
Links matter when something else points at the file. In the demo,
crate.obj in Low Poly Props uses textures/wood_planks.png from its own
folder as its texture. Deleting that copy would leave the crate untextured,
so click Symlink others. The confirmation says how many files are
replaced and how much space it frees.
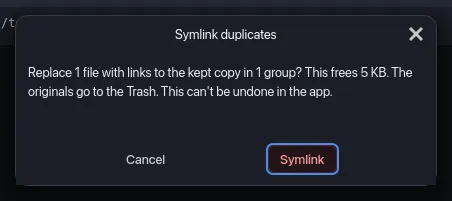
On Windows, or when nothing refers to the duplicates, use Delete others… instead. Its confirmation (“Move 1 file to the Trash and remove them from the library?”) has a Move to Trash button. If you’re on Windows in the same situation as the crate, keep the copy the model uses.
4. Check the result
Section titled “4. Check the result”Click Symlink (or Move to Trash). The resolved groups disappear; when none are left, the review says No duplicates. The status bar reports what happened, here “Duplicates: 1 symlinked, 0 errors” (“Duplicates: 1 moved to Trash, 0 errors” for Delete others…), and the Duplicates count in the sidebar drops.
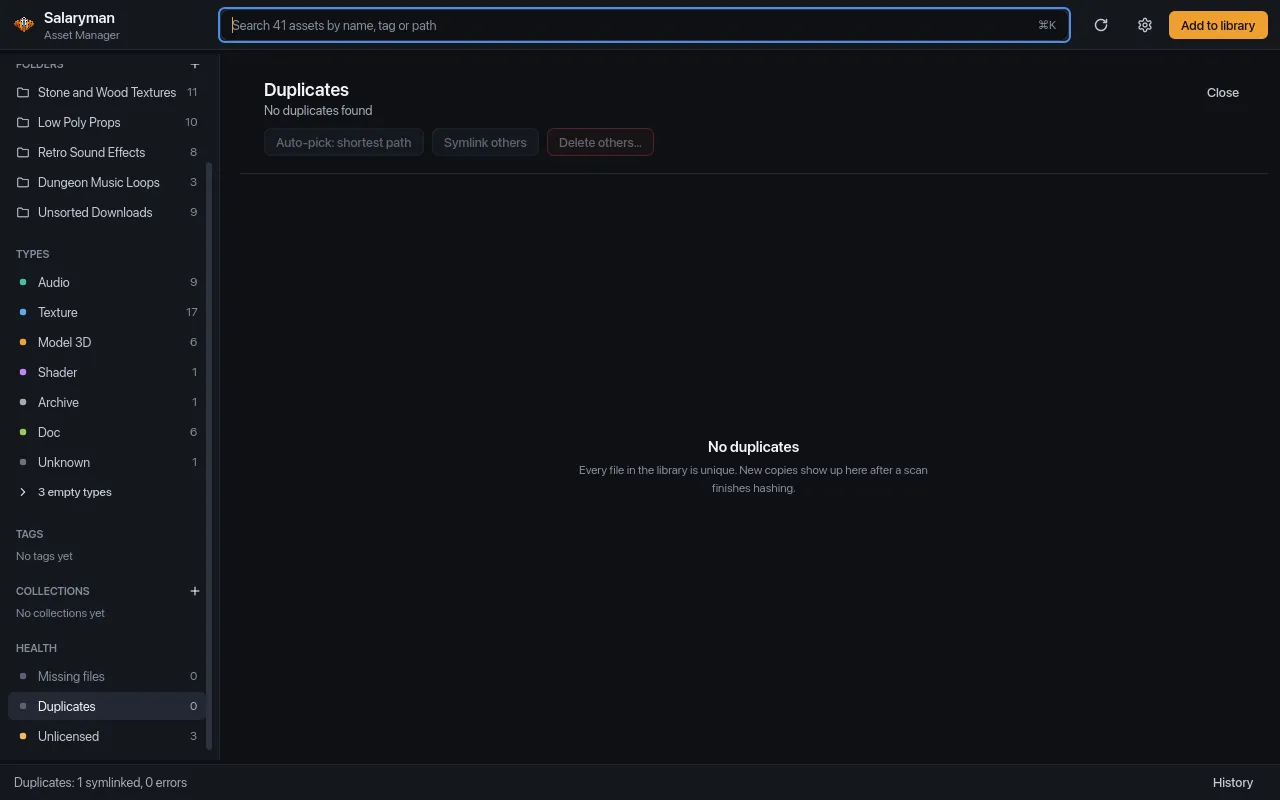
If a file couldn’t be moved to the Trash (it’s read-only, say), it counts as an error, stays where it is and stays in its group. Click Close or press Esc to go back to the grid.
5. Know what undo does here
Section titled “5. Know what undo does here”Press Cmd/Ctrl+Z. Instead of undoing, a notice at the bottom of the window explains that this can’t be undone in the app:
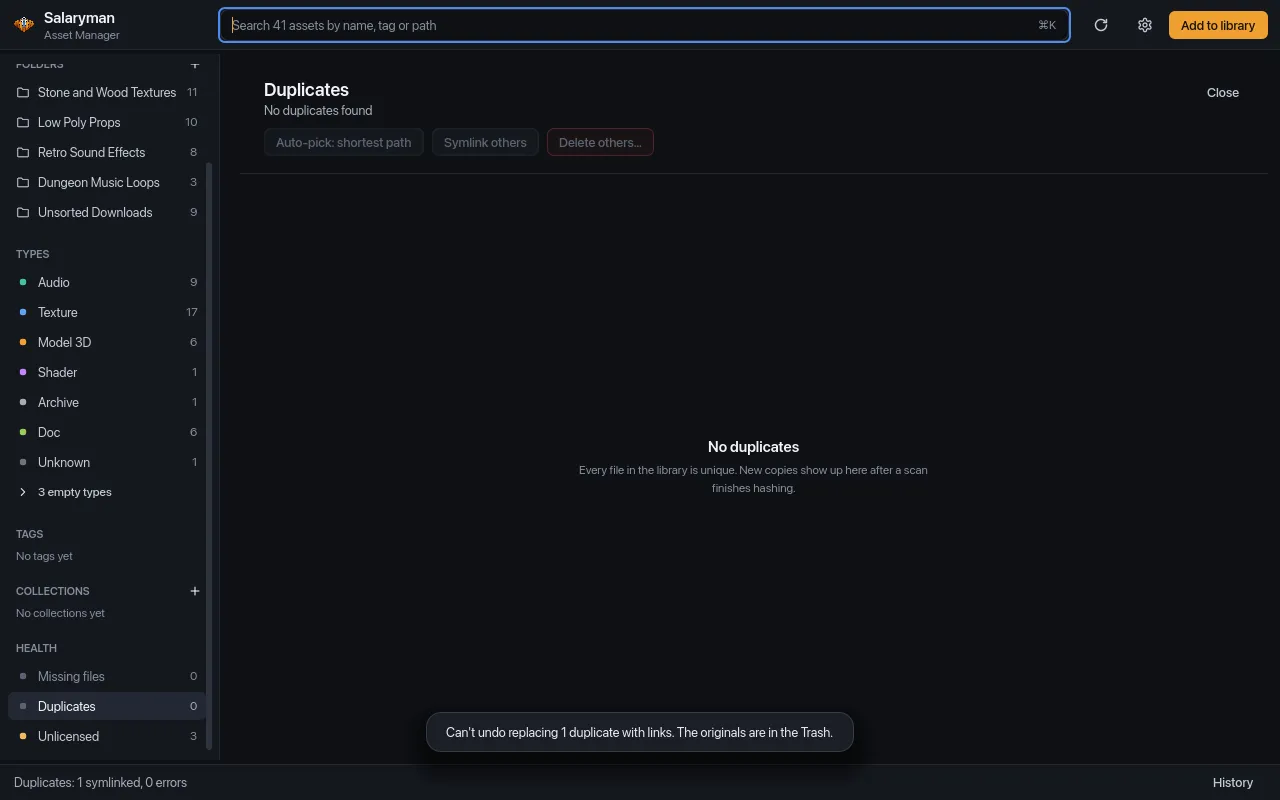
After Delete others… it says “Can’t undo moving 1 duplicate to the Trash. Restore them from the Trash to undo.” Pressing Cmd/Ctrl+Z again moves on to the operation before.
To get a file back by hand:
- After Delete others…, restore the file from the Trash and rescan its folder. It comes back as a new asset, without its old tags and collections.
- After Symlink others, the asset never left the library. Delete the link, restore the original from the Trash to the same place and rescan.
Missing files
Section titled “Missing files”An asset is marked missing when a scan of its folder doesn’t find the file any more: you moved, renamed or deleted it outside the app. Missing assets drop out of the normal grid and searches but keep their tags, collections and pack, so you can fix them instead of starting over.
6. Open Health → Missing files
Section titled “6. Open Health → Missing files”To follow along, move jump.wav out of your library folders in Finder or
File Explorer (to your desktop, say), then hover Retro Sound Effects in
the sidebar’s Folders list and click its Rescan folder button. The
status bar ends with “1 missing”.
Click Missing files under Health (or run Show missing files in Cmd/Ctrl+K). The grid shows only the missing assets, with a missing files chip above it.
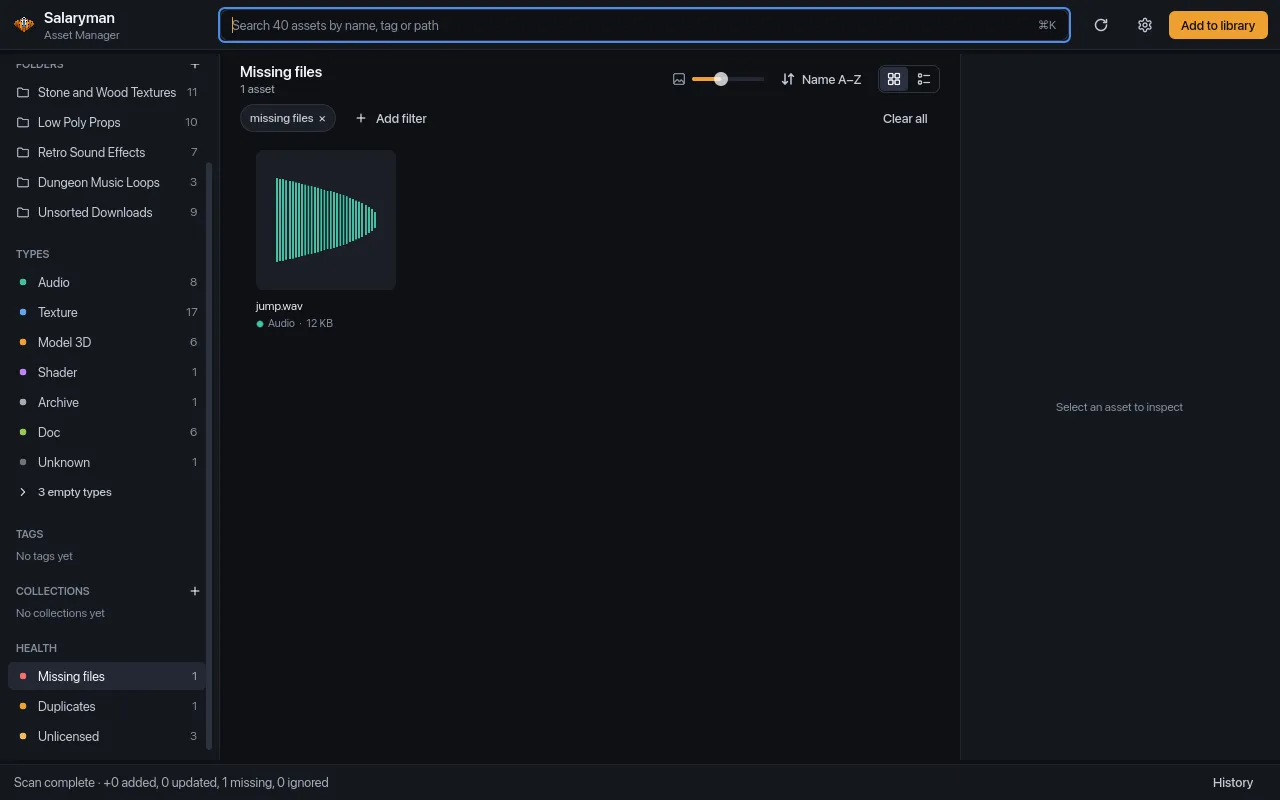
If a whole drive or network share is offline, every asset on it shows up here. Reconnect it and rescan instead of fixing them one by one.
7. Select the missing asset
Section titled “7. Select the missing asset”Click jump.wav. The inspector shows a red MISSING badge, and the
preview says the file isn’t on disk any more. Its details, tags and pack are
all still there. The reveal button at the bottom of the inspector (the
folder icon) is turned off because there’s nothing to reveal. When the whole
folder is unreachable instead, say an external drive that isn’t plugged in,
the preview names the drive and asks you to connect it.
In this view the selection bar appears with a single asset selected and offers just two actions: Locate… and Remove from library… (renaming, tagging, collecting and archiving a file that isn’t there make no sense).
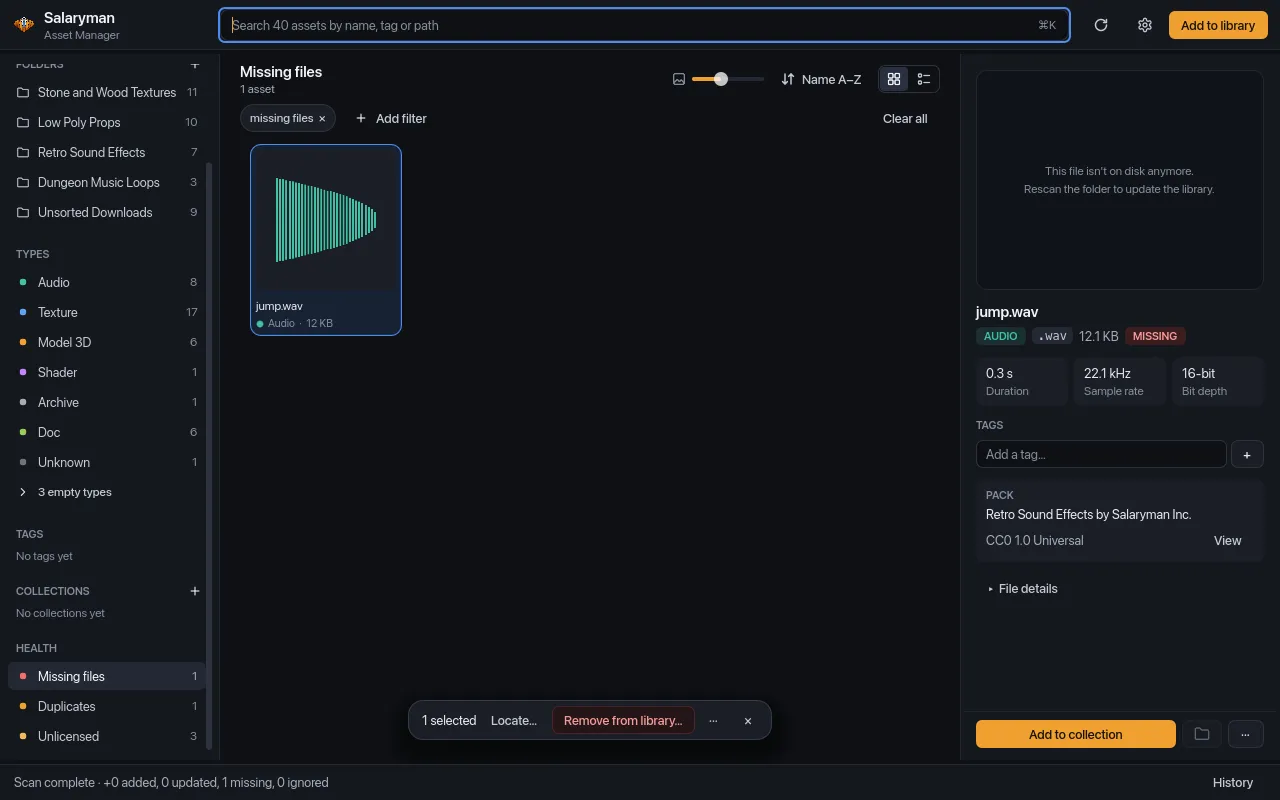
You now have three ways out:
- Put the file back where it was and rescan the folder. The asset is no longer missing; nothing else changes.
- Locate… it at a new place inside your library (steps 8 and 9).
- Remove from library… if it’s gone for good (steps 10 and 11).
8. Locate the file
Section titled “8. Locate the file”Say the file belongs in a new sfx/player/ folder in Retro Sound Effects.
Move jump.wav there, then, before you rescan, select the missing asset
and click Locate…. A file picker titled Locate jump.wav opens in the
last folder you picked in the app. Go to the file, select it and click Open.
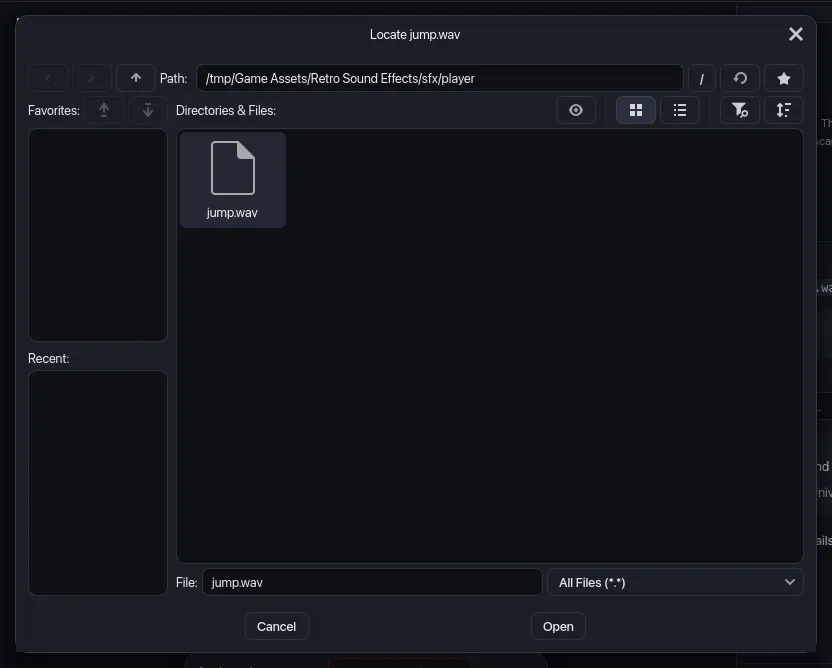
Locate only accepts a file that’s inside one of your library folders and
isn’t already in the library. That’s why the order matters: a rescan would
find sfx/player/jump.wav and add it as a new asset, and Locate would then
say “That file is already in the library.” If that happens, keep the new
asset and remove the missing one (step 10), then redo its tags. A file
outside your library folders gets “Pick a file inside one of your library
folders.”
9. Check the result
Section titled “9. Check the result”The asset points at the new file and leaves Missing files; the status bar says Located jump.wav. It keeps its tags, collections and pack. Its fingerprint is worked out again after the next scan, so it can join a duplicate group if it matches another file.
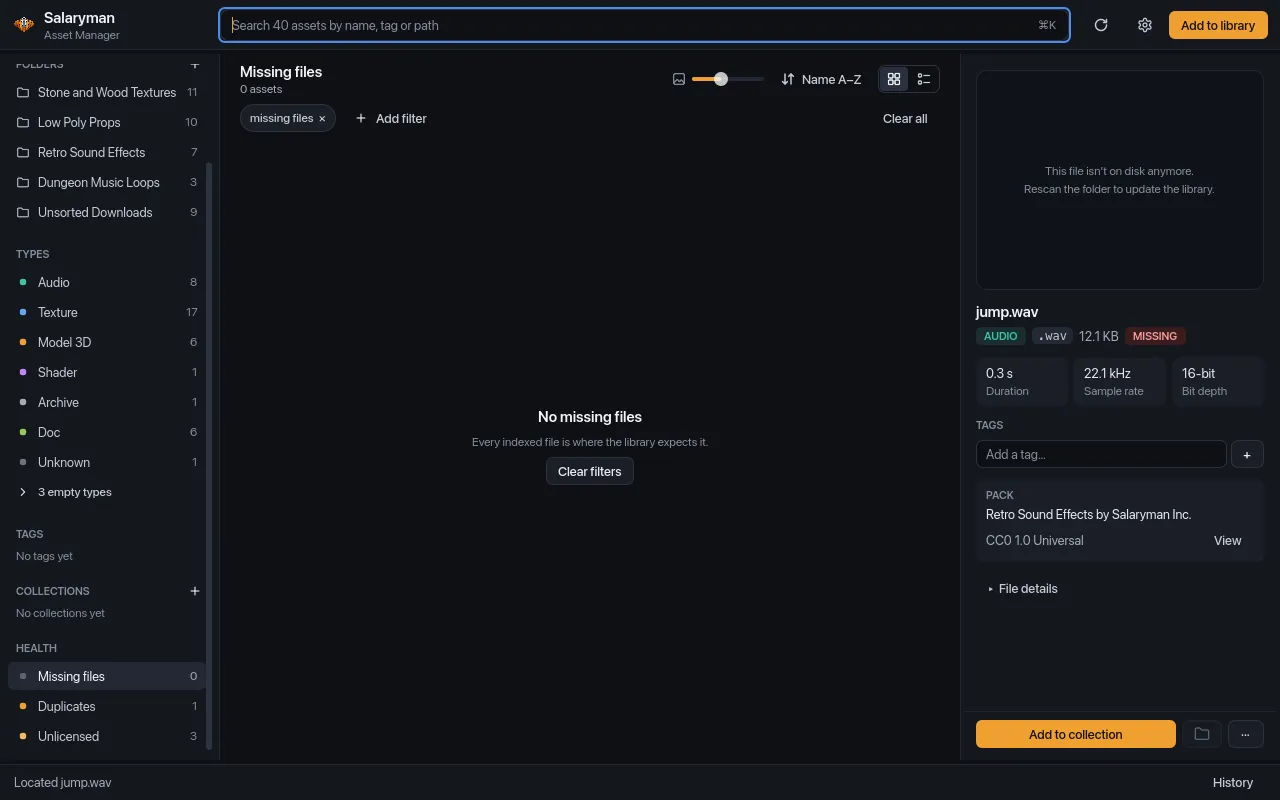
The app doesn’t check that the file you pick is the same one, and Cmd/Ctrl+Z doesn’t undo Locate…. If you picked the wrong file, rename or move the right one into place and rescan.
10. Or remove it from the library
Section titled “10. Or remove it from the library”When the file is gone for good, select the missing asset (or several of them) and click Remove from library…. The confirmation says how many assets go and, when they have any, the tags and collection memberships they lose. It also reminds you that undo works:
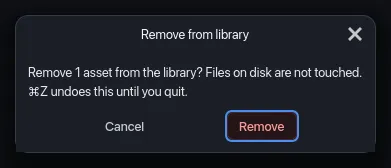
Click Remove. The asset leaves the library (the status bar says “Removed 1 asset from the library”). Files on disk are never touched by this.
11. Undo the removal
Section titled “11. Undo the removal”Changed your mind? Press Cmd/Ctrl+Z (not while typing in a text field, where it undoes typing). The asset comes back, still missing, with its tags and collection memberships, and a notice says what was undone:
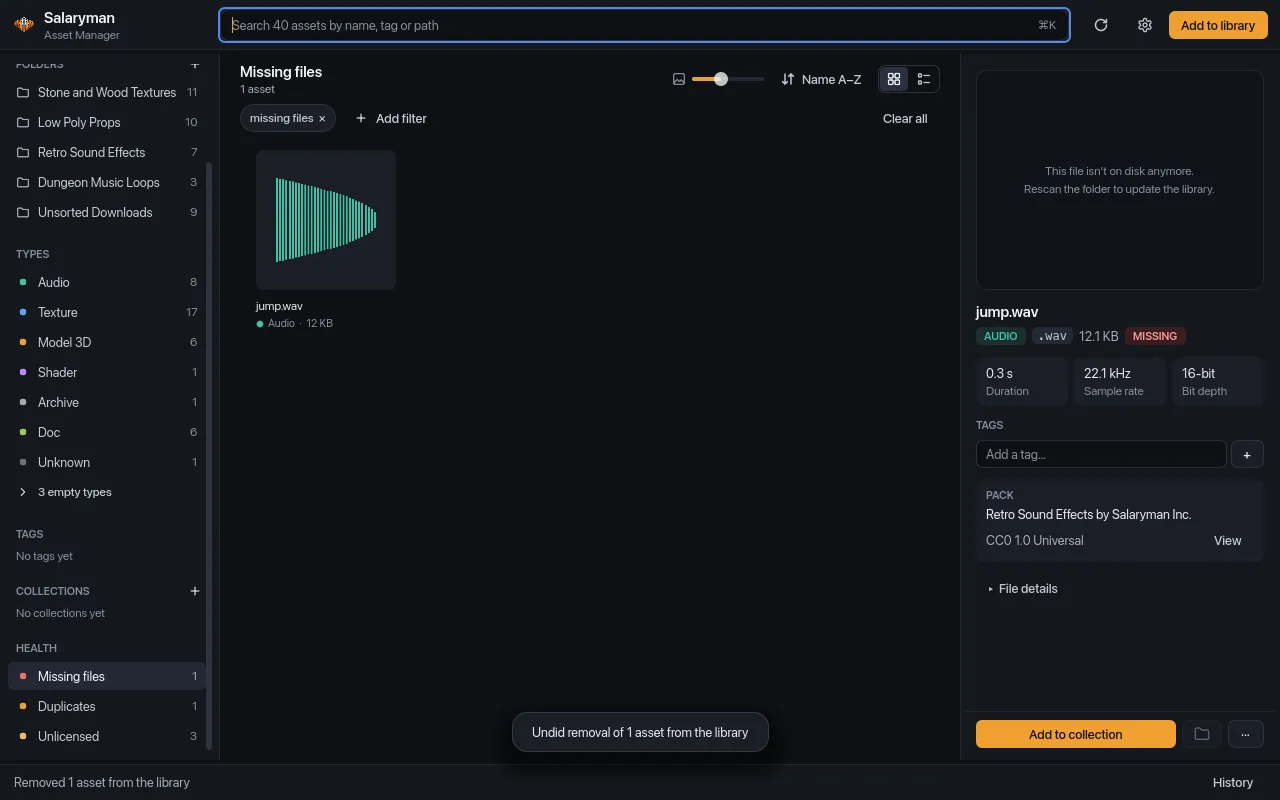
Undo works for the rest of the session: up to the last 50 undoable operations, cleared when you quit. It waits while a scan is running (“Wait for the scan to finish, then undo.”). You can also press Cmd/Ctrl+K and pick Undo removal of 1 asset from the library; the command names what it will undo.
What you did
Section titled “What you did”You resolved a duplicate texture without breaking the model that uses it, learned that duplicates go to the Trash and can’t be undone in the app, and handled a missing file three ways: put back and rescanned, located at its new place, and removed (then restored with undo).
For the details behind each view:
- Health views: every Health row, how duplicates are found and what each resolve option does.
- Bulk actions and undo: everything Cmd/Ctrl+Z can and can’t reverse.
- Library and scanning: rescanning and file watching, which marks files missing as they disappear.
- Troubleshooting: files missing after moving a folder, and duplicates that don’t show up.