
Settings
Open Settings in any of these ways:
- click the gear button at the top right of the window,
- press Cmd/Ctrl+,,
- run Open settings in the command palette. About Salaryman Asset Manager opens it on the About tab.
Settings has five tabs on the left. Changes take effect right away; there’s no Save button. Close the window with its ×.
General
Section titled “General”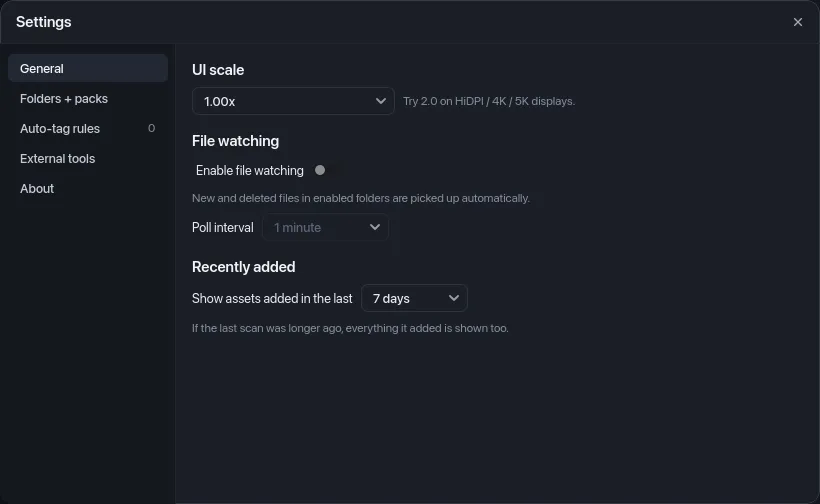
UI scale makes everything in the app larger or smaller. Auto (detect from display) picks a scale from your screen; the fixed choices go from 1.00x to 3.00x. Try 2.00x on a HiDPI, 4K or 5K display if the text looks tiny. The window updates as soon as you pick a value.
File watching keeps the library up to date while the app is open. Turn on Enable file watching and choose a Poll interval of 30 seconds, 1 minute (the default), 5 minutes or 15 minutes. At each check, the app rescans any enabled folder that changed since the last check, one folder at a time. The status bar then reads “Watching · last checked” and the time.
Recently added sets how far back the sidebar’s Recently added view looks: 1 day, 3 days, 7 days (the default), 14 days or 30 days. If your last scan was longer ago than that, everything it added is shown too, so a big import from two weeks ago doesn’t vanish from the view.
Folders + packs
Section titled “Folders + packs”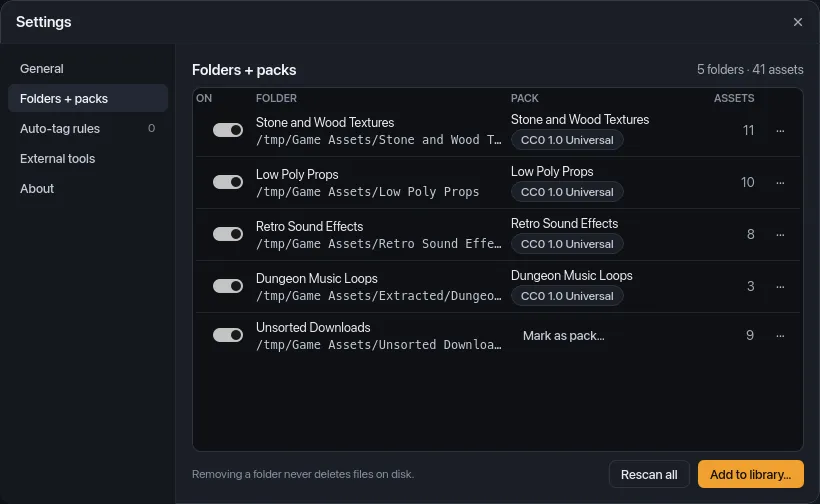
This tab lists every library folder, with a summary such as “5 folders · 41 assets” at the top. Each row has:
- On: the switch that includes the folder in scans. Turn it off to skip the folder when scanning and watching (its name is dimmed); its assets stay in the library.
- Folder: its name and full path.
- Pack: the pack’s name and a chip with the first line of its license (“No license” when it has none). Click the chip to edit the pack. A folder without a pack shows Mark as pack… instead.
- Assets: how many assets the folder holds.
- ···: the folder’s menu.
The folder menu has:
| Item | What it does |
|---|---|
| Rescan folder | Scans just this folder (off while a scan runs). |
| Reveal in Finder (Explorer, file manager) | Opens the folder. Off, with “This folder is missing on disk.”, when the folder can’t be found. |
| Edit pack info… | Opens Pack Details: Pack name (required), Author, Source URL and License, with an SPDX quick pick… menu for common licenses. |
| Remove pack info… | Forgets the pack’s name, author and license. Assets stay in the library. |
| Mark as pack… | For a folder without a pack: opens Add to library for the folder with the pack details filled in, and rescans it so every asset gets the pack. |
| Remove from library… | Removes the folder and its assets from the library (below). |
Packs and licenses are covered in Packs and licenses.
Packs not linked to a folder appears below the table when a pack has no assets left, usually because you removed its folder. Each one keeps its license chip and a ··· menu with Edit pack info… and Remove pack info…, so you can still edit or delete it.
At the bottom, “Removing a folder never deletes files on disk.” sits next to two buttons:
- Rescan all scans every enabled folder.
- Add to library… opens the Add to library
window, where you add a folder or import a
.zipas a pack. Settings closes while it’s open.
Both are off while a scan is running.
Removing a folder
Section titled “Removing a folder”Remove from library… asks first: “Remove “Low Poly Props” from the library? Its 10 indexed assets leave the catalog. Files on disk are never deleted.” It also says how many tags and collection memberships those assets lose. Removing costs you that curation, not files. Press Cmd/Ctrl+Z before you quit to get the folder back with everything on it; see Bulk actions and undo. Adding the same folder again later brings the files back, but without their tags and collections.
Auto-tag rules
Section titled “Auto-tag rules”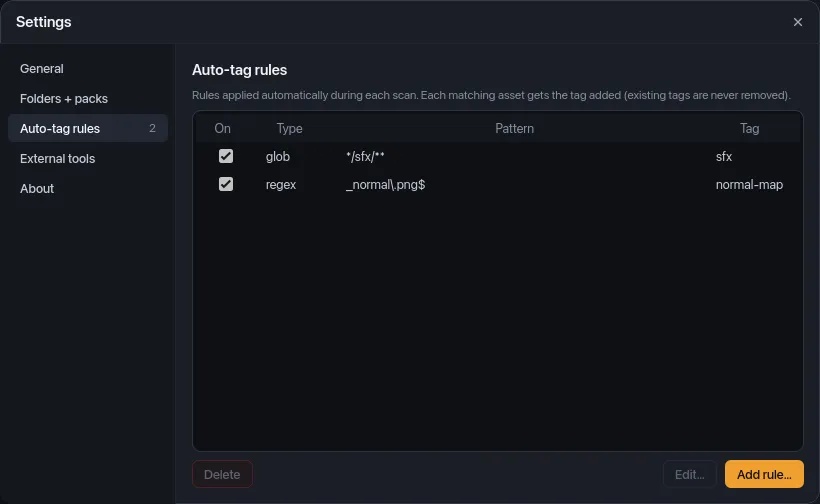
Rules tag assets automatically during each scan. The tab’s count shows how many rules you have. The table lists each rule with an On checkbox, its Type (glob or regex), its Pattern and the Tag it adds. Use Add rule…, Edit… and Delete below it.
How to write rules is covered in Auto-tag rules.
External tools
Section titled “External tools”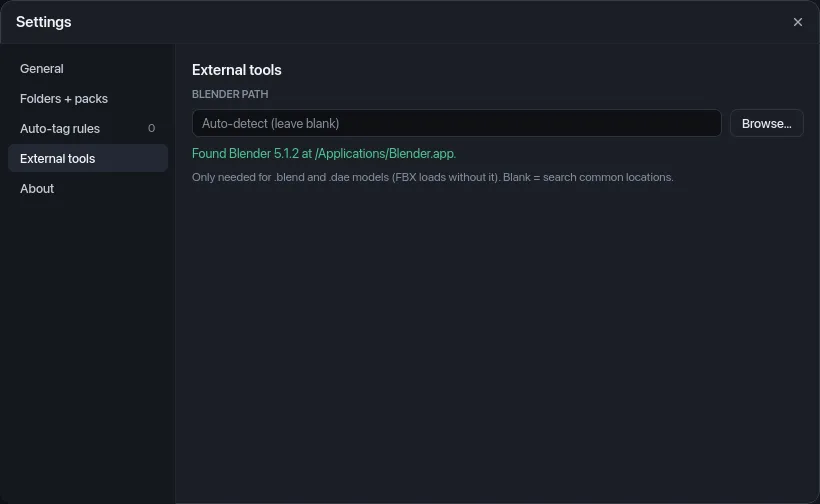
Blender is only needed to preview
.blend and .dae models; everything else, FBX included, works without it.
Leave Blender path empty to let the app look for Blender in
/Applications/Blender.app on macOS and on your PATH everywhere. If it’s
installed somewhere else, type the path to the Blender program or click
Browse… to pick it.
The line under the field says what the app found:
| Status | Meaning |
|---|---|
| “Found Blender 4.2 at /Applications/Blender.app.” | Auto-detect worked. |
| “Using Blender 4.2 at …” | Your path works. |
| “No working Blender at that path. Using the auto-detected … instead.” | Your path is wrong, but another Blender was found and is used. |
| “No working Blender at that path. Check it points at the Blender executable.” | Your path is wrong and none was found. |
| “Blender wasn’t found. It’s only needed to preview .blend and .dae models.” | Nothing set and nothing found. |
The Blender previews tutorial covers setting it up.
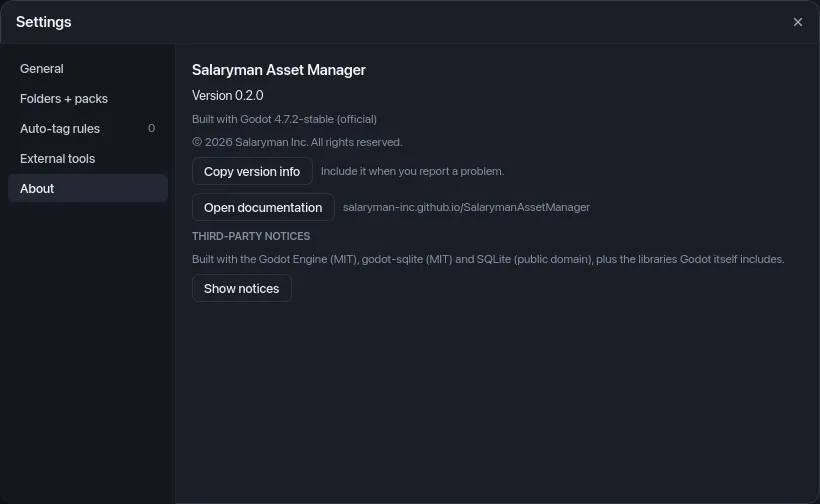
The About tab shows the app’s name, its Version, the Godot version it was built with and the copyright line.
- Copy version info copies one line such as
Salaryman Asset Manager 0.2.0 (Godot 4.7.2-stable (official), macOS). Include it when you report a problem. - Open documentation opens this guide in your default browser. The command palette’s Open documentation does the same.
- Third-party notices lists the software built into the app (the Godot Engine, godot-sqlite and SQLite, plus the libraries Godot itself includes). Show notices expands the full license texts; Hide notices folds them away. They’re also on the Third-party notices page.
Where settings are stored
Section titled “Where settings are stored”Settings are saved in settings.cfg in the app’s data folder; your folders,
packs and rules are in the library database next to it. See
Where your data lives.